


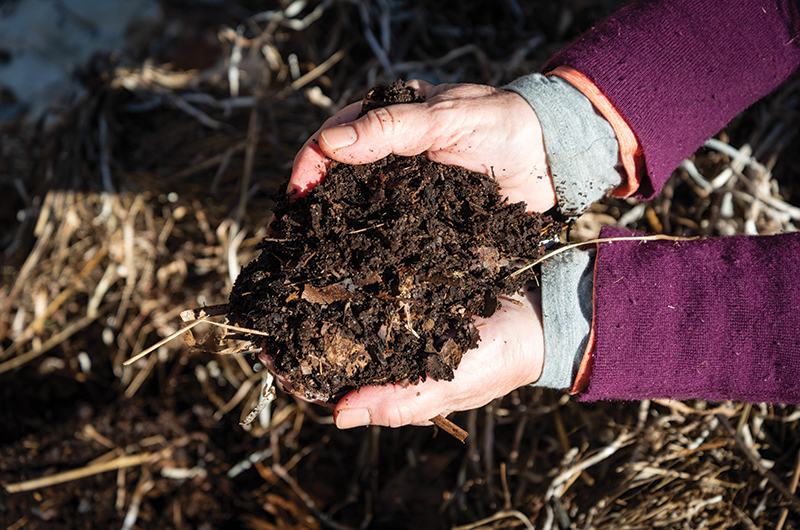
You’ve just snacked on a nice juicy apple. What to do with that apple core? Tossing it in a compost bucket instead of the trash is a win-win habit you won’t regret forming. You’re reducing your kitchen waste while contributing to the future of your soil – an easy way to multitask. Combine your kitchen waste with grass clippings and leaves, and over time, from months to years, the mixture will become fluffy and soil-like, rich in moisture-holding properties, beneficial micro-organisms, and nutrients for growing plants.
“I’ve always composted. My grandmother composted,” says Diana Gilmore, a realtor who lives in West Tisbury and is creating gardens at her home. She says each year she moves the compost pile to another spot on the edge of her yard and watches how the leaves and organic waste break down to become the perfect food for her plants.
Many people (including me) have a place in their yard where they pile leaves and grass clippings. Aside from the labor of mowing and raking, these piles are the free and valuable building blocks of composting. With a little effort, leaves and grass clippings produce a rich ingredient to add to our flower and vegetable beds in the coming years.
Roxanne Kapitan, landscape manager at Oakleaf Landscaping, is a gardener and educator who works hard to keep her compost piles in balance. At her home on the Oak Bluffs side of the Lagoon, she uses a homemade cage of wire mesh, set directly on the bare ground. The rule of thumb is three layers of brown to one layer of green. “Browns” offer carbon and are often (yes) brown in color – dried leaves, straw or hay, sawdust, composted wood chips, used peat moss or potting soil, small twigs. “Greens” are the nitrogen source and include grass clippings, raw fruits and vegetables (peelings or overripe), egg shells, tea and coffee grounds, small branches from pruning, and even weeds (preferably those not gone to seed, which may not decompose entirely in a slow compost pile).
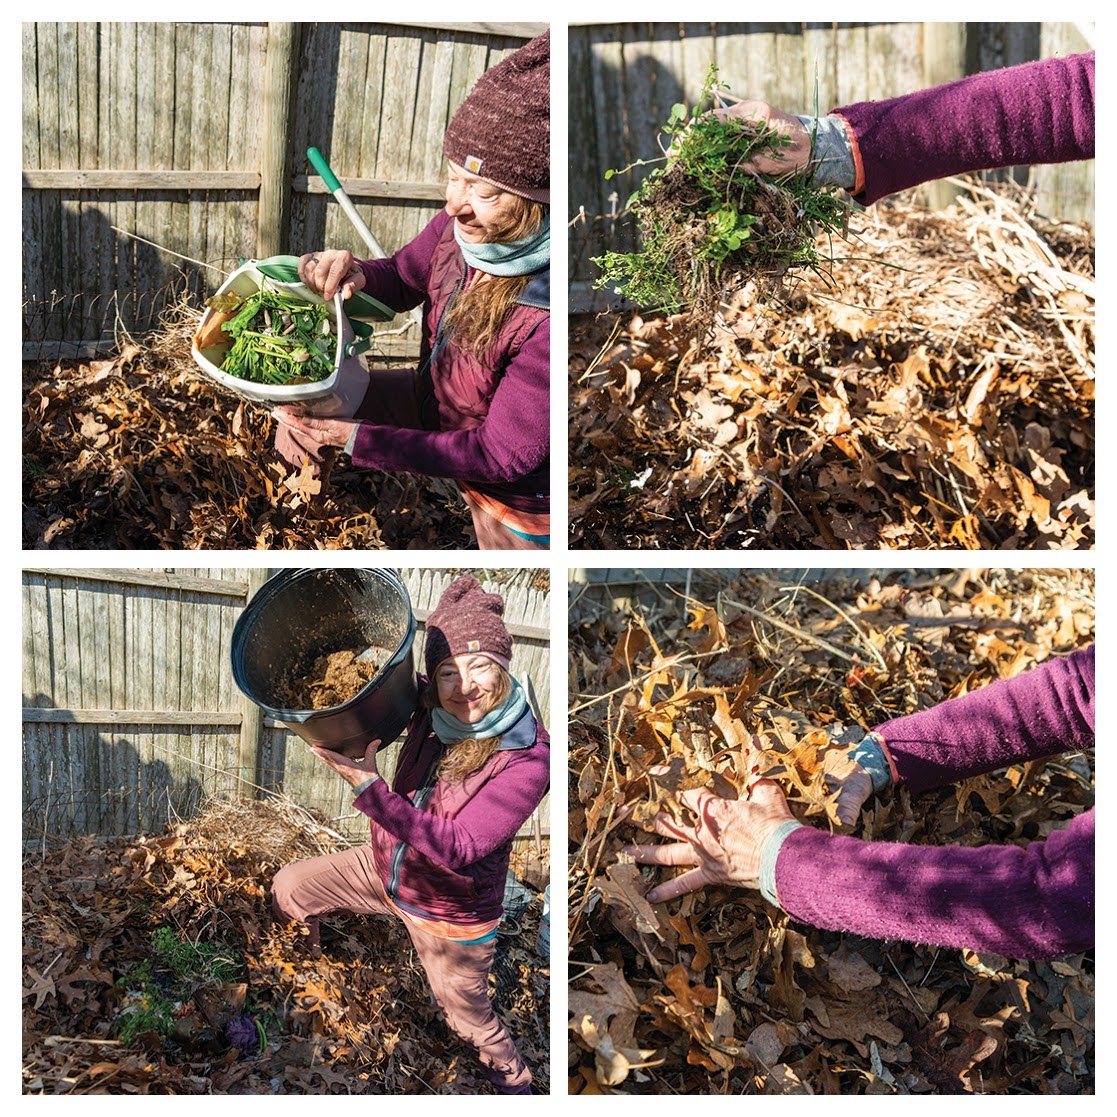
Roxanne recommends starting the pile with a thick layer of brown leaves; she uses two to three feet of oak leaves as her base.
The best spot to locate your compost bin is partial shade. In all aspects, the pile needs to be kept at a happy medium: not too sunny nor too shady, not too wet nor too dry, not too much brown nor too much green.
Roxanne mentioned that it’s a good idea to stockpile some extra leaves and grass clippings near your compost bin so that you can add some of them when you add your kitchen waste. A common mistake is to add too much kitchen waste without more “brown” material. Some additions, like wood ash (which is a valuable source of carbon), should be spread in a very thin layer so that they are sure to be well-integrated. I have started to save wood ash from our wood stove to add to our pile during the summer.
Roxanne doesn’t use commercial compost starters or boosters. Instead she recommends finding a good source of composted horse or cow manure (one to two years old), or bedding from chickens, rabbits, goats and sheep, all of which can be used fresh in a compost pile. The ideal material is a mix of straw or wood chips and manure, so offer to clean out your friend’s chicken or rabbit coop! If you can’t find a source of manure, Roxanne says that topsoil from your garden will also encourage your pile to break down. Choose soil that is not too sandy or full of clay. What the soil, manure or previous compost will do for your pile is to provide the microorganisms that begin breaking down your compost.
Ideally, your compost pile will be a hotspot for microbial activity. In fact, a “hot” compost pile, where the temperature at the center of the pile is about 130 to 140 degrees, will speed composting along so rapidly that you could have usable compost in a few months. From experience, Roxanne says a pile about four feet square (no smaller) is the ideal size for hot composting. The size of the pile is important, but hot composting also requires more attention to the balance of carbon and nitrogen.
For many of us, slower composting is easier, even though it can take a year or so to get your first batch of usable compost. Because my pile is fairly dormant in the winter, in the spring I rake out the bin and leave the half-cooked compost nearby to keep working for another year, turning it over when I can. The finished pile from last year goes in the vegetable garden, where it is easy to add to every row or hole I’m planting. The new half-finished pile, outside the bin, is a good spot to proof dahlia tubers, to see if they will sprout or not. This pile always yields a few volunteer butternut squash plants that produce way more squash than anything grown inside the garden.
Some people build a three-bin compost system so that they can move compost from bin to bin as it ages. You can move a batch of partially-aged compost from the first to the second bin and leave it alone, while continuing to add new material to the first bin. When the second bin is completely broken down (the material will look like soil), you can move it to the third bin, which is available for you to take from any time. You can construct a system like this from wood pallets and chicken wire.
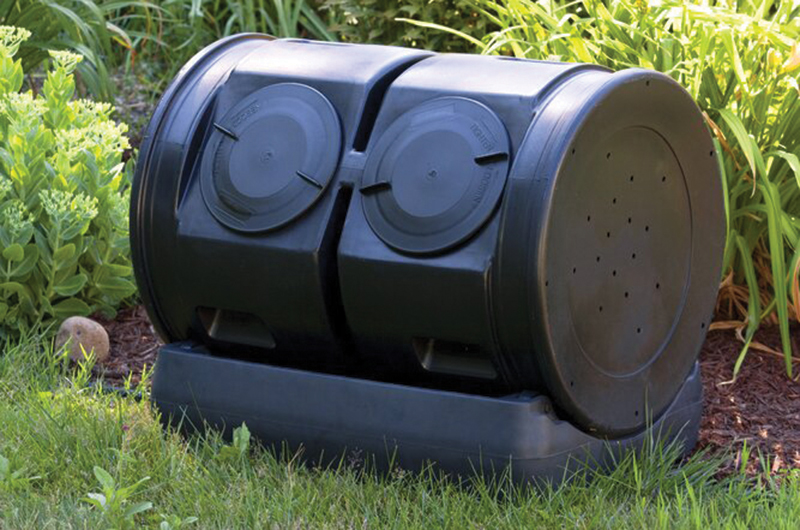
Instead of open piles, many people choose a closed system to reduce smells that will attract rats, skunks and raccoons. SBS in Vineyard Haven carries sturdy plastic Compost Wizards that contain the waste and make it easy to turn and aerate. (Another advantage to tumbler-style composters is that they generally speed up composting.) You can also find a range of other composting equipment at SBS, from boosters and inoculants that can help jump-start the process to wire cages and galvanized cans with air holes.
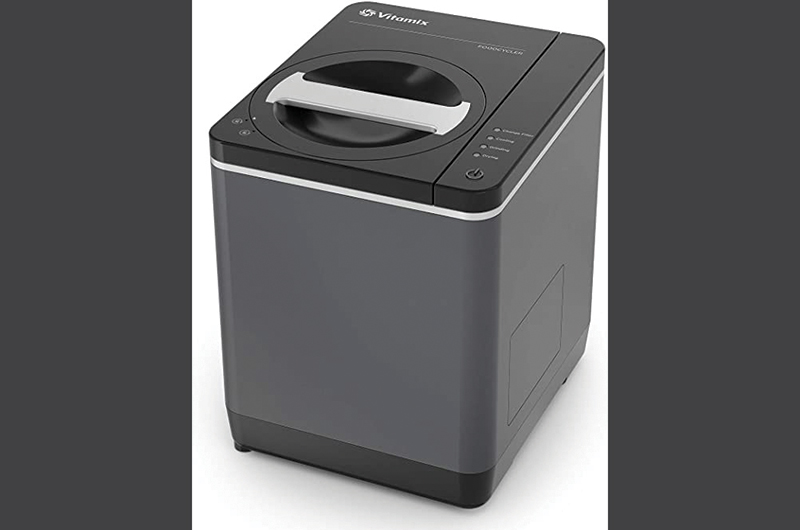
Jim and Joan Malkin of Chilmark have been using a two-chamber compost tumbler for years with good success. They have not had problems with skunks or rats. They have now added a countertop Vitamix FoodCycler (photo at right) to their system. The idea is similar to what Island Grown Initiative (IGI)'s giant grinder does to start the breakdown process, only on a much smaller scale: The small machine dries and chops kitchen waste. Volume is reduced dramatically, says Jim, from one gallon of kitchen waste to a handful of dried, chopped matter similar in texture to tobacco. This can be used as a fertilizer added to the soil at planting time, or it can be added to their compost tumblers, as part of the “green” necessary to break down the brown.
And if you don’t want to do your own composting, you can still save your scraps and contribute to Island-wide composting thanks to IGI. You can pick up a free countertop composting bucket (available at town dumps, the West Tisbury library, and at IGI’s office in West Tisbury) and drop off your compost at the IGI farm (for free) or any of the town transfer stations. Oak Bluffs and Tisbury charge a nominal fee for the drop-off at their transfer stations; the other towns will accept food scraps for free.
Because of the massive grinder and tumbler that IGI uses, they are able to accept food waste – including meat, fish, dairy, bones, and lobster shells – that a home composter would usually not include in their pile.
“Reducing the amount of food we waste is a powerful and practical way we can each make a difference, for climate and for our pocketbooks,” says IGI program director Noli Taylor. “By composting our food scraps, we keep these valuable nutrients on our Island and build the health of local farm and garden soils, making it easier for us to grow more abundant, delicious food right here at home.”
Emily Meegan lives in Chilmark and works at the West Tisbury Public Library.


Comments