By the end of a long New England winter, a lot of us are getting more than a little tired of looking at the same old walls, with their paintings and prints that have grown so familiar we barely notice them anymore.
Meanwhile, new pieces from art shows, craft fairs and galleries are propped in a corner, unhung and unseen.
With spring bringing the urge to refresh, now’s an ideal time to change up your home art collection — giving newer acquisitions a chance to shine, while rehanging old favorites so they once again catch the eye.
“You have to be brave about it. You can’t be timid,” said Nancy Vietor of Edgartown, an artist and longtime interior designer who is writing a book about the secrets of her trade.
Nancy has a number of practical tips for home-dwellers who may be a little intimidated by the tasks of positioning and installing their artworks, especially in a new or remodeled home where all the walls are bare.
To begin, she said, decide first what to put in which part of the house: family photos in a hallway, kids’ art in the playroom and seascapes in a study or living room, perhaps.
Choosing where on the walls they’ll go is a matter of personal taste, but scale is a crucial consideration.
“If you have a tiny painting over a big sofa, it’s going to look silly. There’s no way around it,” Nancy said.
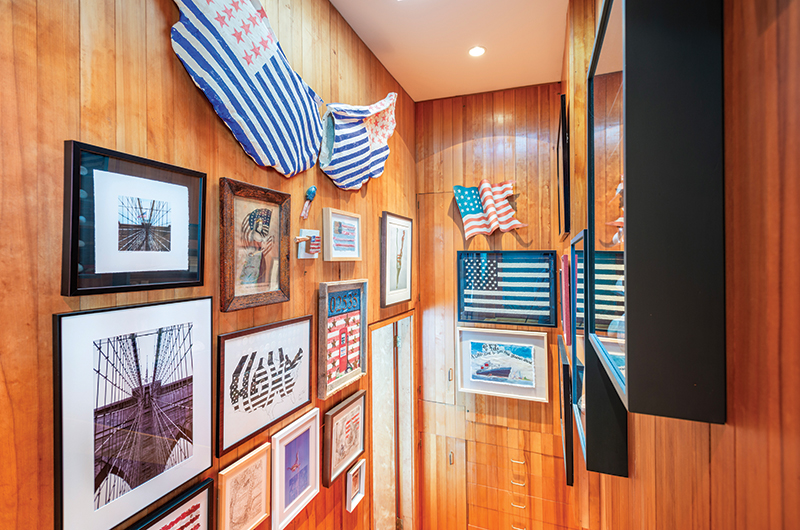
Large spaces don’t necessarily call for large artworks, however. Collectors and curators Monina von Opel and Ed Miller, who have hung more than 1,000 pieces of art at the Martha’s Vineyard Hospital and countless more in private homes, like to group smaller pieces together on a wall.
Monina and Ed begin by laying out the pieces on a clean floor or carpet, often after dinner at the home of friends who’ve asked for their help.
“For dessert, we hang up the art,” Monina said.
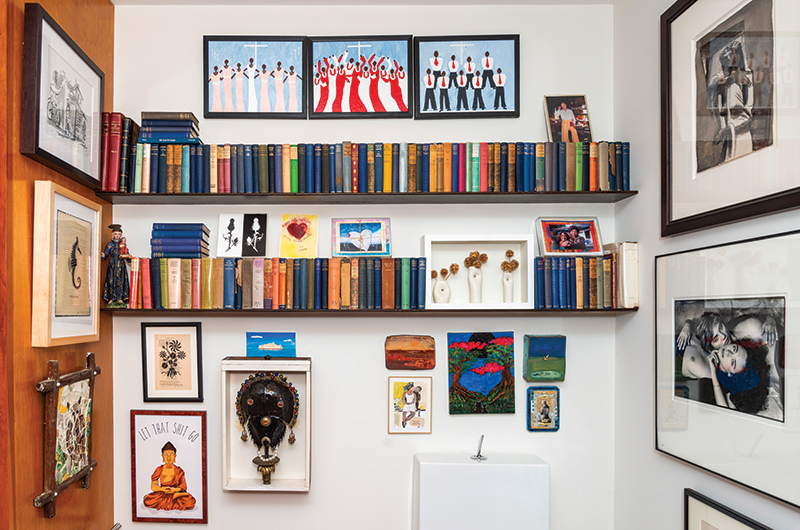
Arrangements work best when the edges of the grouping are as straight as a single frame would be, she said. But within that space, she and Ed often will vary the artwork with different sizes, subjects and frames.
“We like to mix things, so it can be an 18th-century something or other with a modern-day something you’ve picked up at a market somewhere, or some little holiday treasure that you found. One thing can enhance the other,” Monina said.
But that’s not a hard rule for the couple, who recently purchased two of Island photographer Libby Ellis’s black and white flower portraits to display together – and then went back for a third, because two weren’t quite enough.
“Uneven numbers are better,” Monina said.
The important thing, she said, is to let the artwork itself — and not the home decorating scheme — lead the way.
“It’s not decoration. It’s part of your life. It’s like a visual diary,” Monina said.
“Things catch your eye, [and] where you find them and whether it goes with anything else is beside the point. If we decide it’s going to go, it goes,” she said.
That includes in bathrooms, hallways and even the laundry room of your home, Monina added.
Monina and Teresa Kruszewski, a photographer and framer who owns 51Art Gallery in Vineyard Haven, both cautioned against choosing art specifically for décor purposes.
“My skin crawls when somebody says, ‘I’ve got this space, this will work perfectly there,’ versus buying the piece because they like the art,” Teresa said.
Nancy said she’s designed rooms to highlight the artwork, but never the other way around.
“Please don’t match your couch,” she said.
Another pitfall is the tendency to hang artwork too high, requiring viewers to crane their necks.
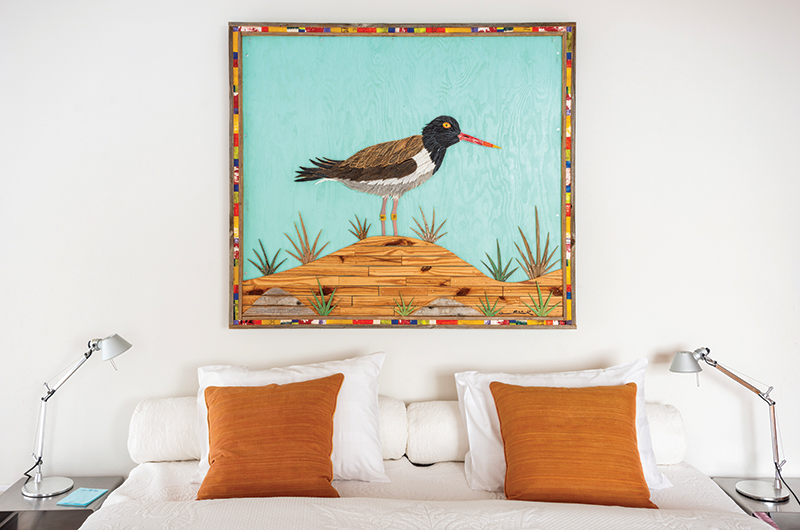
Ed, who stands well over six feet tall, said he makes sure the top of a frame is at or below his eye level. A good rule of thumb for the rest of us is to position the midpoint of a piece, or a grouping, between 57 and 60 inches measured from the floor (and to take the measurement in more than one place, since it’s a rare floor that lies completely flat).
The most technical aspects of hanging are also the simplest, according to David Hannon of David Hannon Fine Art Services in Vineyard Haven, who has 30 years of experience with galleries, museums and private clients.
“Rule number one: It can’t fall off,” David said. In other words, picture hooks should be sized to match the weight of the pieces they’ll support.
Rule number two — endorsed by all five of the experts we spoke with — is to use two hooks for each piece, measuring in from the frame to space them evenly.
“It never gets crooked,” said David, who works with Island homeowners to display their collections of art and family photographs.
Along with hooks, wire, measuring tape and a hammer, a leveling device — whether the old-fashioned spirit level or its electronic counterpart — is a must, especially in older homes where floors and ceilings may have sagged with the years, Teresa said.
Whether you use your own tools, borrow a friend’s or hire David to do the whole thing, keep in mind that you can move artwork around and add new pieces any time.
“Don’t be afraid. If you hate it, you can change it,” Monina said.
Louisa Hufstader is senior writer for the Vineyard Gazette.
Picture Hanging Protocol
Do:
- Mix styles, sizes and types of art
- Lay out groupings on the floor before hanging them on the wall
- Measure at least twice before hammering in the nails
- Use two hooks and a level to make sure your pictures are hanging straight
- Enlist a helper for larger jobs
Don’t:
- Horizontally align your artwork to floors or ceilings, which may not be level
- Hang art too high on the wall; aim for the piece’s midpoint to be no more than five feet high.
- Buy art to match your furnishings
- Use the same frame style for everything
- Chicken out and leave your artwork unhung
Artist credits for wall in photo at top- Top row: William H. Abbe, David Franklin, Mary Drake Coles, Kib Bramhall, William H. Abbe. Bottom row: William H. Abbe, Irving Petlin (top), Robert E. Schwartz (bottom), Ellen G. Levine, Robert E. Schwartz, Tom Maley.


Comments