
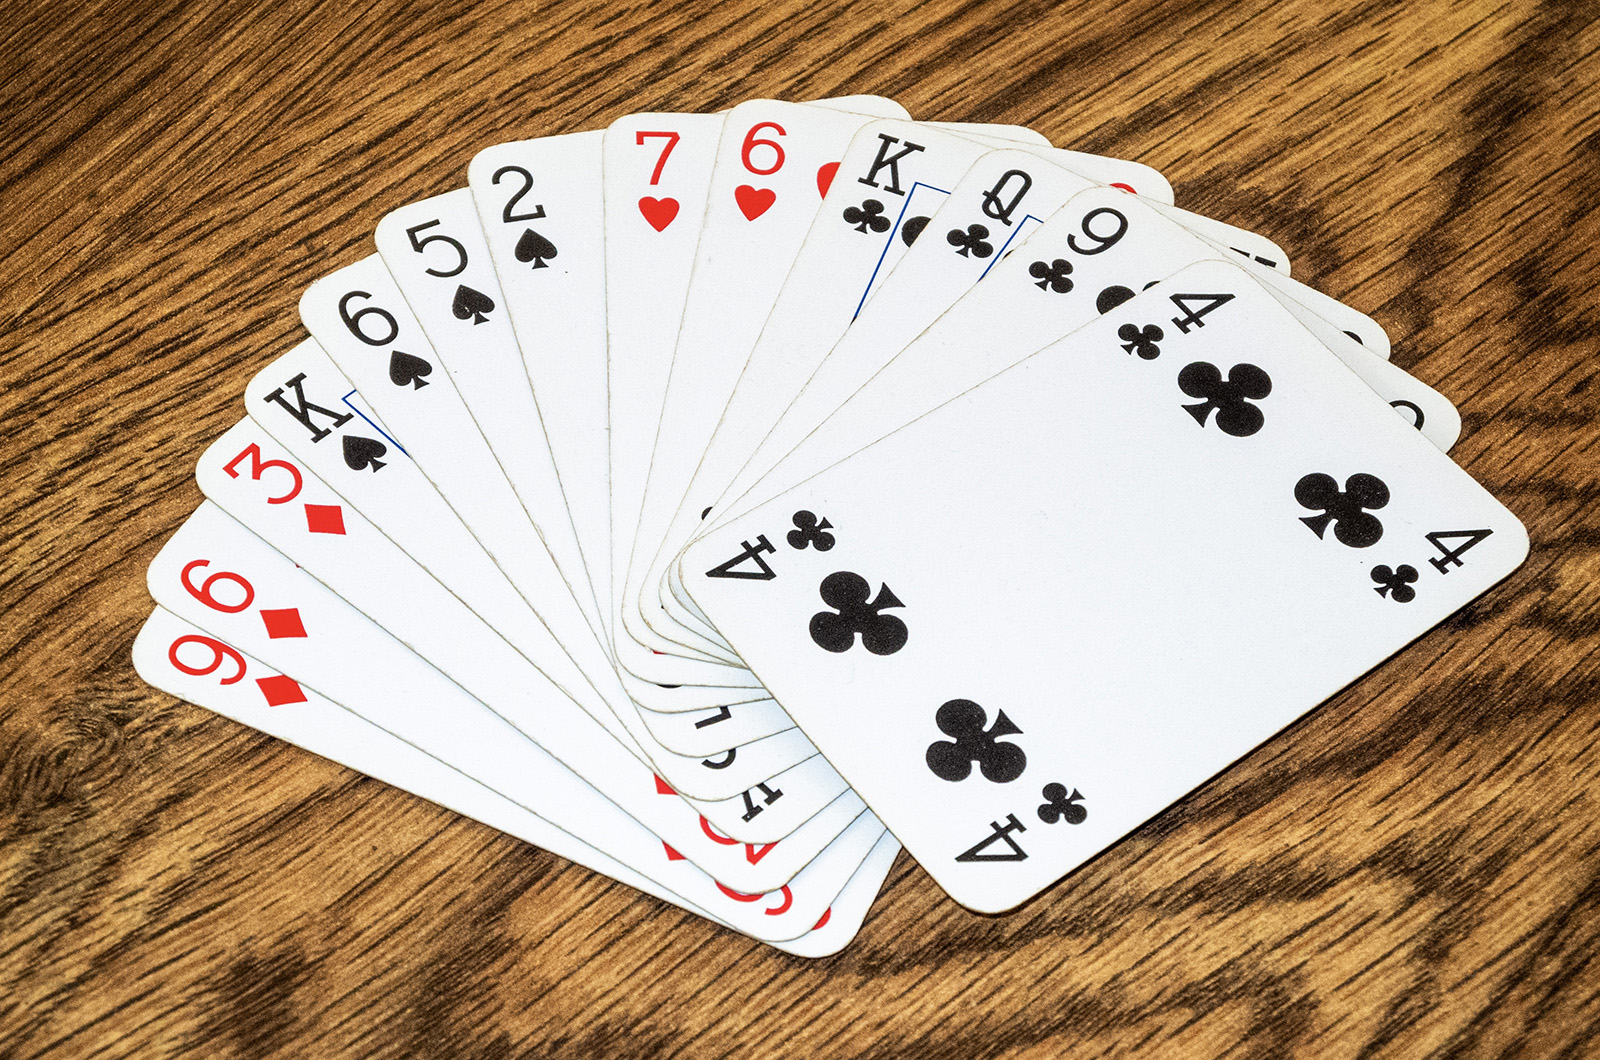
South is dealing, with East-West vulnerable.
NORTH
♠️ A 4
♥️ K Q J 3
♦️ 4 3 2
♣️ A 10 6 5
WEST EAST
♠️ 5 ♠️ 9 3 2
♥️ A 6 5 4 2 ♥️ 9 8 7
♦️ A 7 ♦️ K J 10 8
♣️ K Q J 4 3 ♣️ 8 7 2
SOUTH
♠️ K Q J 10 8 7 6
♥️ 10
♦️Q 9 6 5
♣️9
The bidding proceeded as follows:
South West North East
3♠️ Pass 4♠️ All Pass
Opening lead: ♣️K
The bidding was reasonable. Weak three-bids usually have about six tricks, and North could add four likely ones in two aces and two (or three) high hearts.
This column once again deals with the appropriate time to draw trump, with communication as a bonus issue.
West ♣️K was taken by the North’s ♣️A.
As declarer what would you do next?
South cashed the ♠️ KAQ and led the ♥️ 10. No fool, West went up with the ♥️ A and declarer was stuck in. hand. Now the defenders cashed the ♦️AK and later the ♦️J for down one.
There was a better way. At Trick Two lead a heart to the ♥️10 and West’s ♥️A. Assuming the ♣️Q would be a winner, West leads it to a ruff. Now declarer can lead to the ♠️ A and cash ♥️ K and ♥️Q. Finish with two winning trumps trump and claim.
This was a case of delaying trump to set up heart winners you can reach. It would be wrong to play on spades before establishing two heart tricks in dummy. Doing so would deprive declarer on any entry to dummy and strand declarer in hand.





Comments
Comment policy »